6. Software Development Tools
6.1. e² Studio and SDK6
The SDK6 is already compatible with GCC. The SDK 6.0.22 Includes now the support for e² studio and LLVM compiler for enhanced development support.
The example projects in the SDK which supports e² studio is: <sdk_root_directory>\projects\target_apps\ble_examples\prox_reporter\e2studio.
To start building a fully working solution on e² studio and SDK6 you can refer to the UM-B-176: e² Studio SDK 6 Getting Started Guide.
6.2. Smartbond™ Flash Programmer
The Renesas SmartBond™ Flash Programmer tool, lets the user program a flash device for the DA14535 SoC (System on Chip). You can connect the DA14535 TINY™ Module via JTAG only and select the firmware to program the flash (1 Mbit SPI FLASH/ Puya P25Q11U).
You can download the latest version of SmartBond™ Flash Programmer from Development tools. For further reading you can refer to the UM-B-138 SmartBond™ Flash Programmer.
6.3. SmartSnippets™ Toolbox
- SmartSnippets™ Toolbox documentation covers all software development requirements, including:
programming and loading of firmware into SRAM, OTP, EEPROM and Flash
power profiling
Terminal Scripting
Note
The DA14535 motherboard includes FTDI chipset FT2232HL which allow easy communication with the development host over USB.
The FT2232HL implements the USB to UART function and ensures the connectivity of PC to the DA14535 SoC UART port and to current sense circuitry through SPI connection with ADC.
Please take a look at SmartSnippets™ Studio
Note
On the FCGQFN24 package, P0_5 is assigned to single wire UART signal RxTx. For enabling this on DA14535 mother Board, three additional jumpers need to be added. Please refer to Figure 26.
The jumper configuration on the DA14535 of the motherboard is detailed in the corresponding Hardware User Manual.
6.4. Keil Installation
For DA14535, the Keil® µVision® IDE must be used for compilation and debugging for this tutorial.
Download and install the Keil® tools from https://www.keil.com/demo/eval/arm.htm.
Different Editions of MDK
When choosing an edition of the ARM Keil® MDK, it’s essential to consider your licensing options. Users who don’t possess an MDK-Professional License have two available choices:
1. Lite/Evaluation Version:
- The Lite/Evaluation version of the Keil® development tools can be utilized without requiring a product license. However, this version comes with some limitations:
It imposes a 32 kB code size restriction (in ROM).
It’s important to note that the Lite/Evaluation version may not support applications based on the latest SDK6 version. This is because the default C compiler in Keil projects has been changed to ARM v6 C compiler with LTO (link time optimization) support enabled, which is not available in the evaluation version of Keil-MDK.
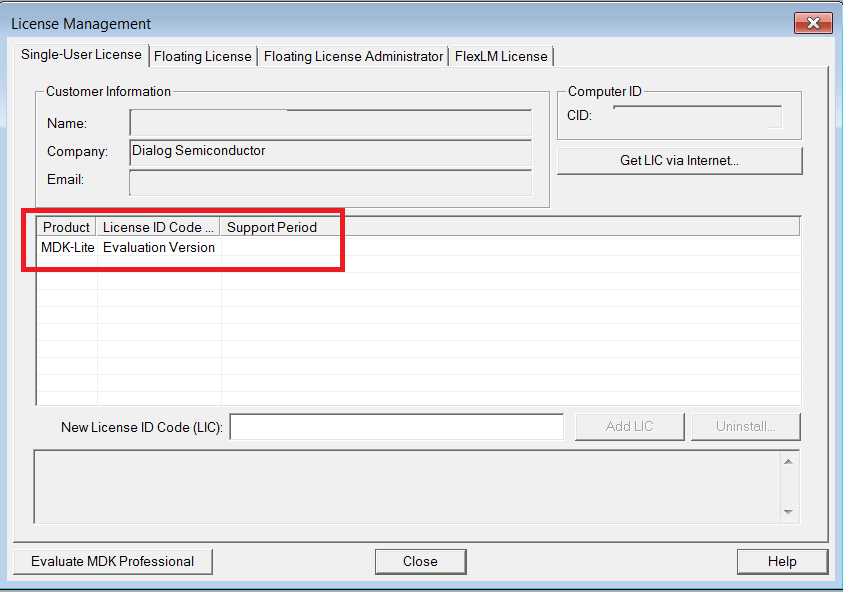
Figure 17 Keil Lite Version
2. MDK-Community Edition:
- The MDK-Community Edition is designed for non-commercial use cases and provides specific advantages:
It is suitable for hobbyists, makers, students, and academics.
This edition allows you to work with the latest SDK6 version, featuring the V6 ARM compiler with LTO (link time optimization) support enabled.
To use the MDK-Community Edition, you need to obtain a valid license. You can obtain a product serial number and learn how to convert it into a license, which is valid for one year, by visiting https://www.keil.arm.com/mdk-community/.
It’s important to make an informed choice based on your usage requirements and licensing options.
When the installation is complete, a list of packs is shown (Figure 18). If you do not see this list:
Click the Packs Installer button (or select Project > Manage > Pack Installer).
Click the Check for Updates button to show an updated list of packs.
Click the Install or Update button next to the ARM::CMSIS package, if not up to date.
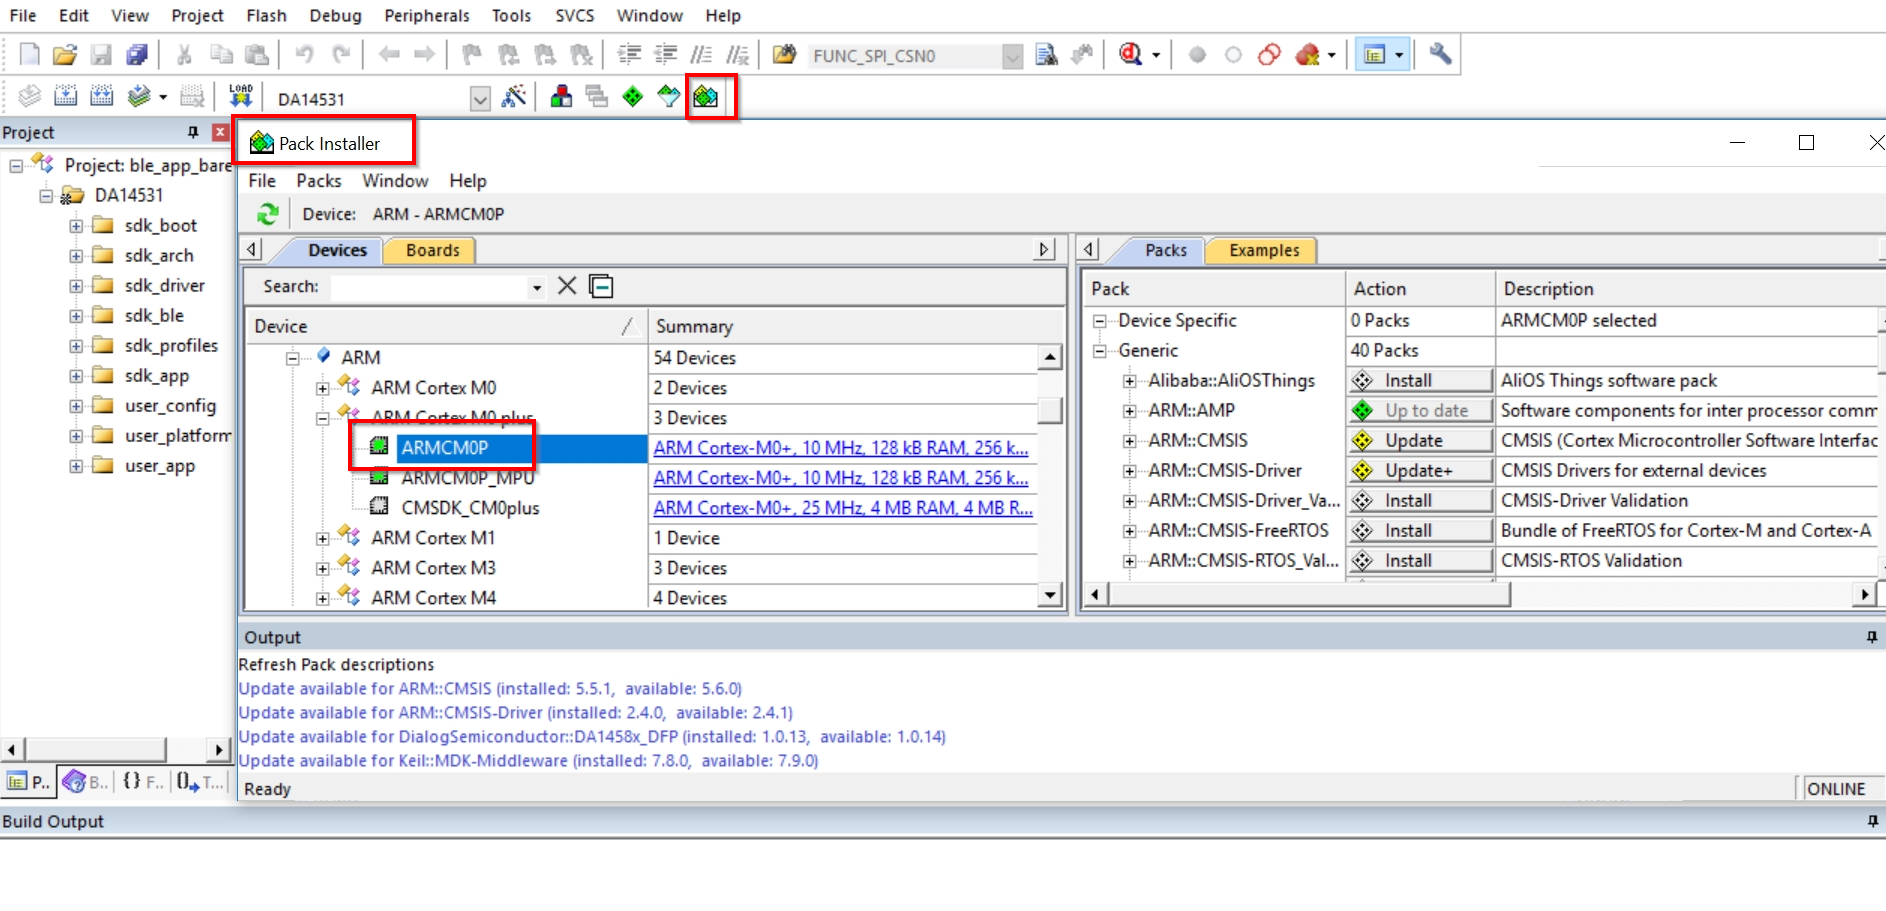
Figure 18 CMSIS Package Installation