5. First Test
Tests are executed by the Connectivity PLT Application that can be launched from the start menu after installation. After following the setup guide in Section 4, the Connectivity PLT Application should look like Figure 12
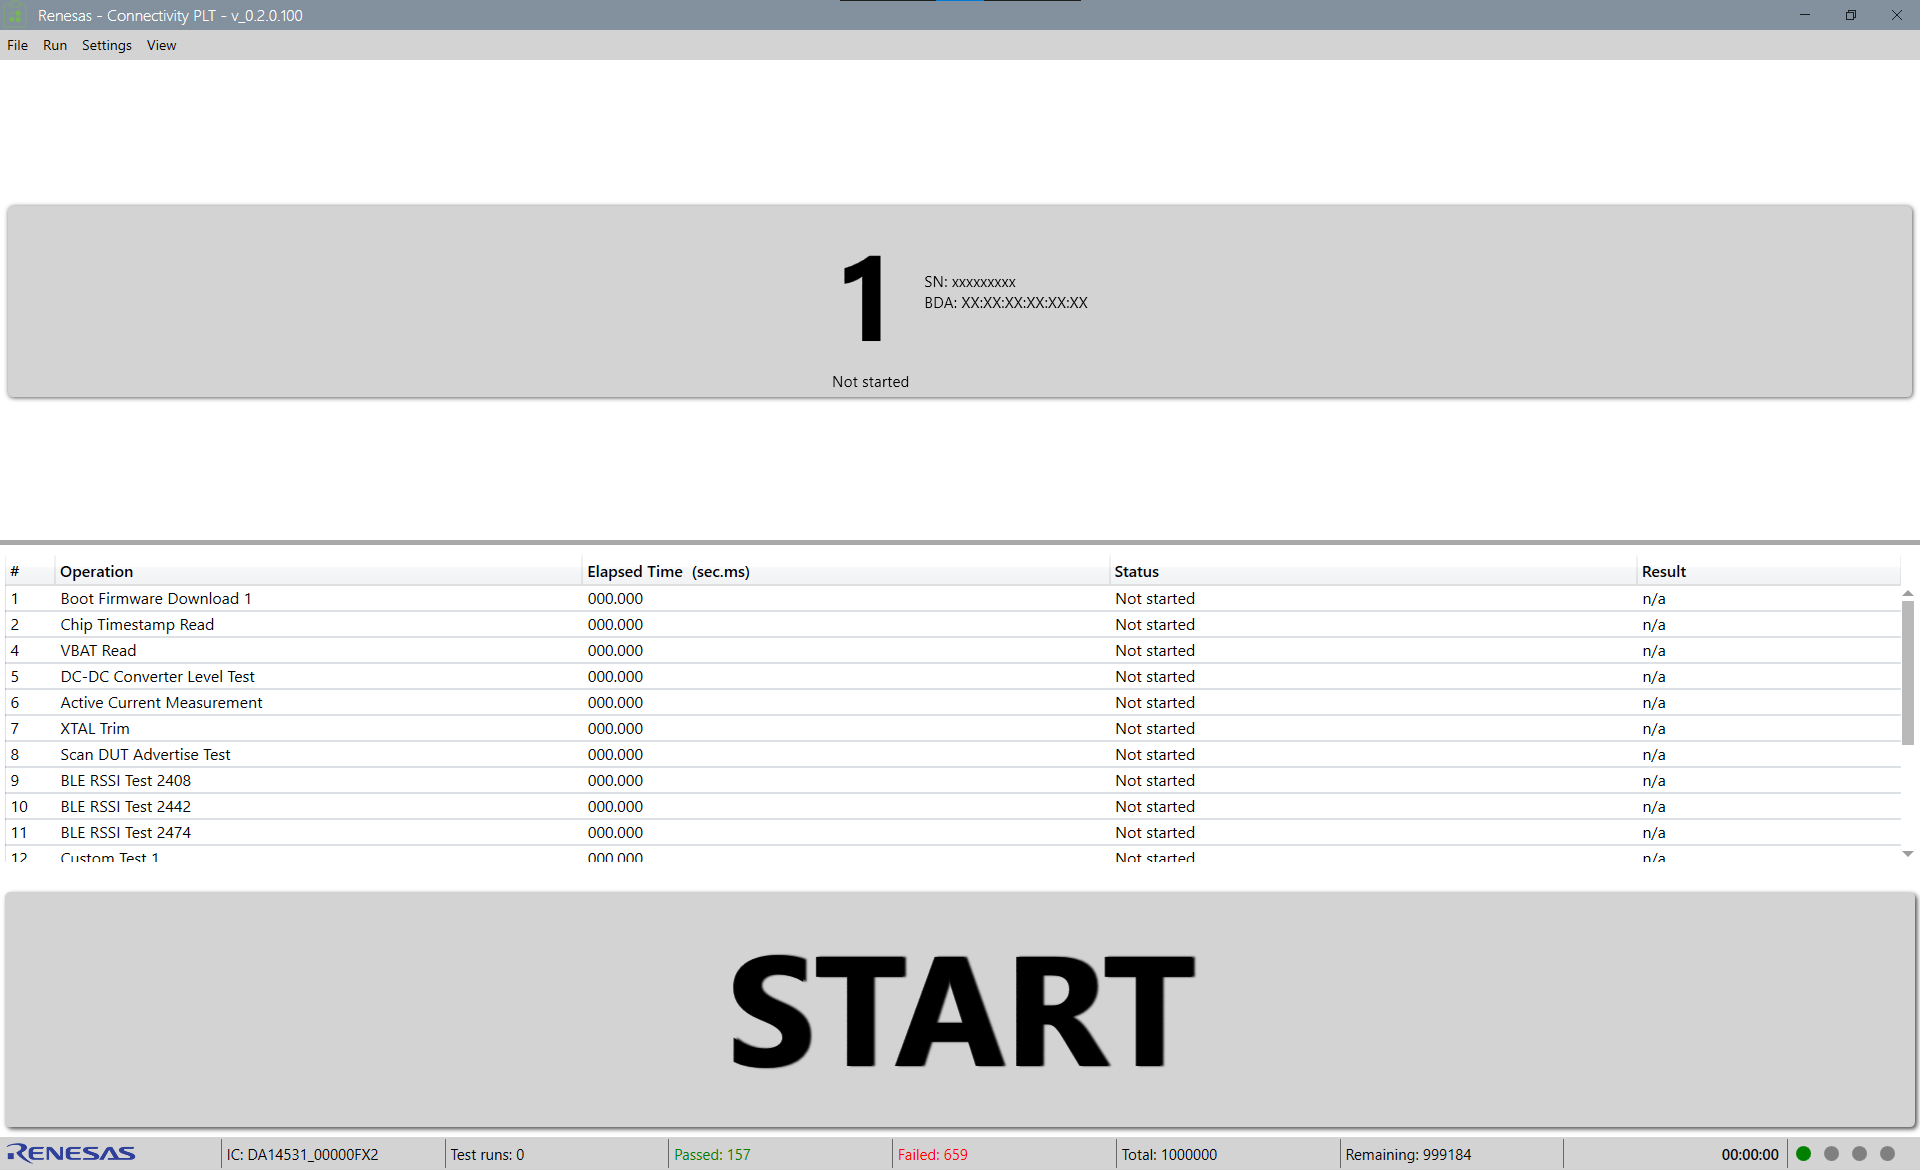
Figure 12 Connectivity PLT Application
The test can be started by clicking the Start button or the spacebar. The software will ask for a device serial number which is already in the database. For this tutorial we will use a serial number that is included in the default installed database: “483000000”.
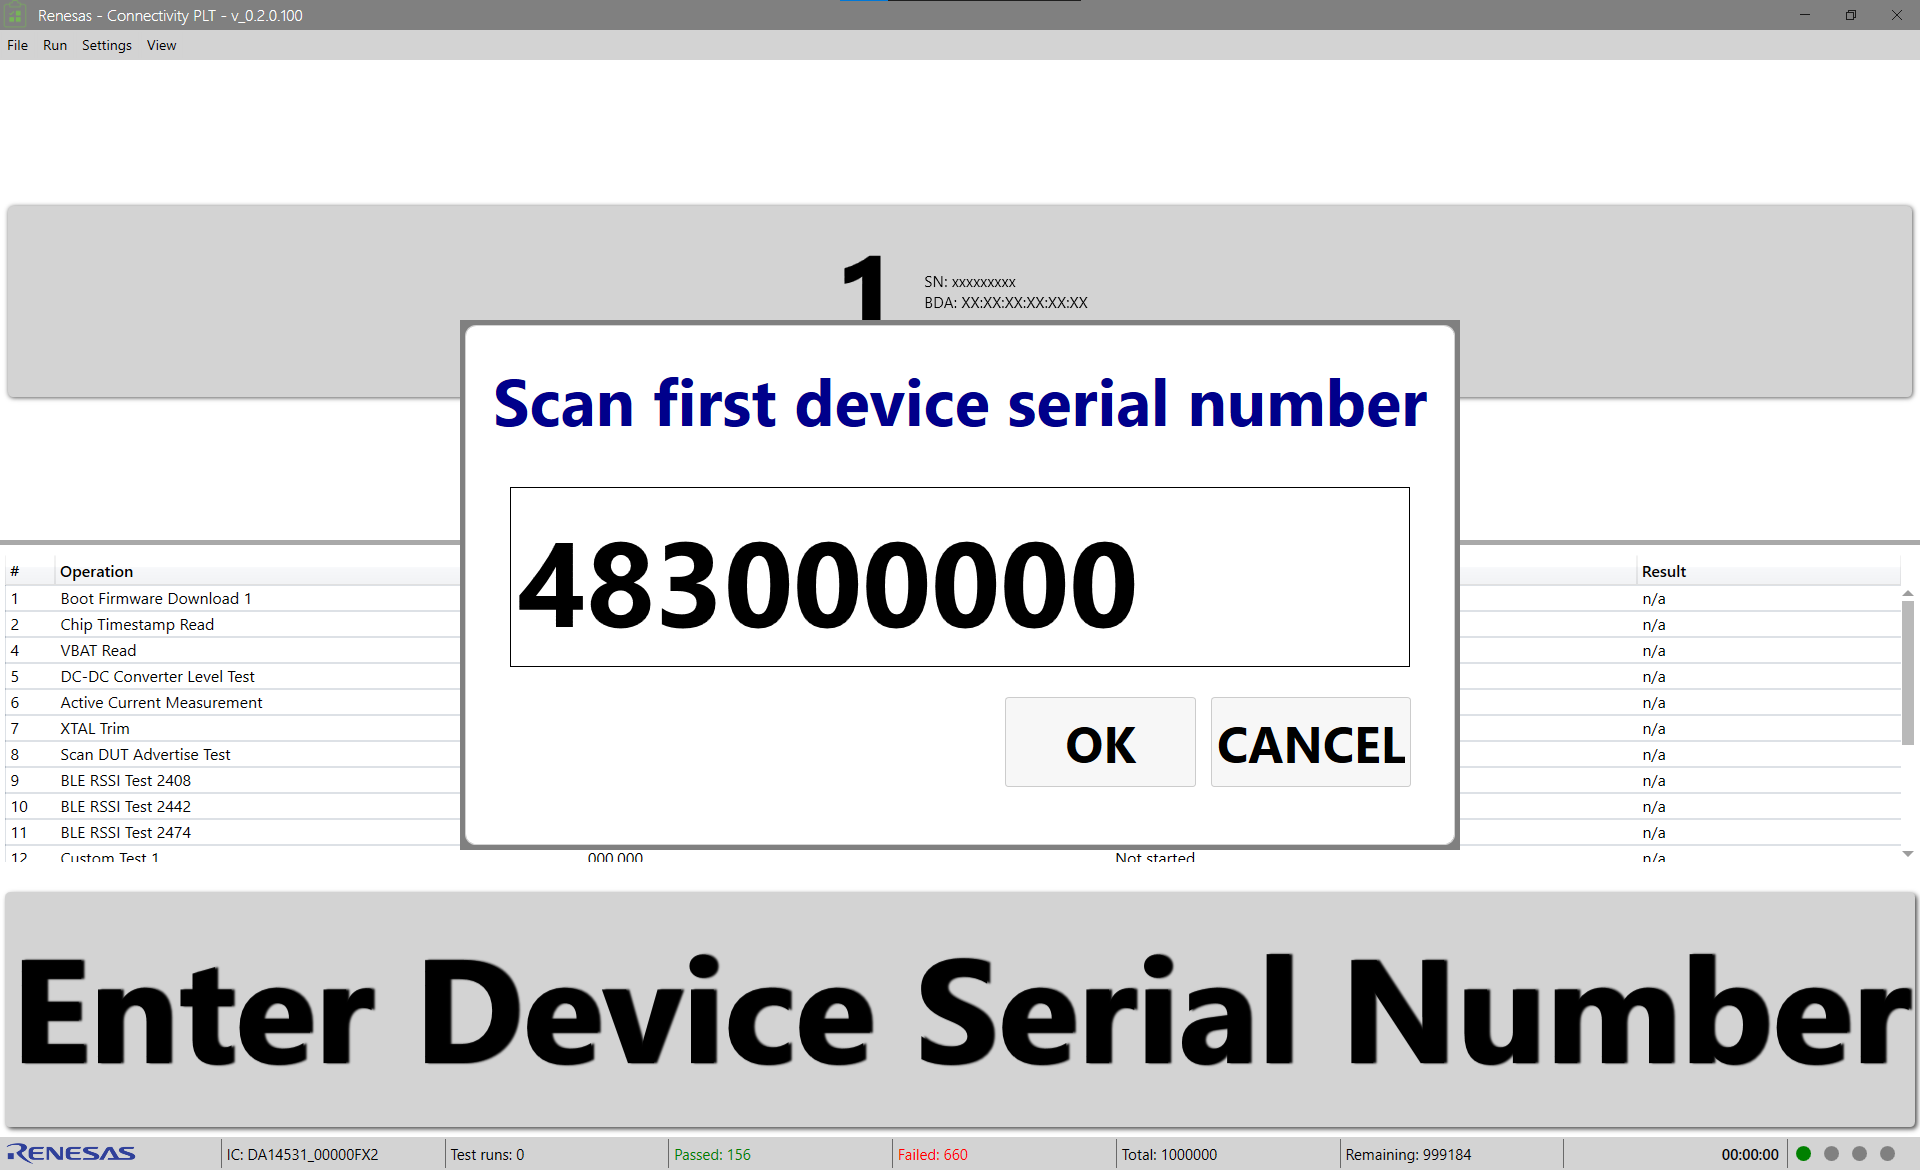
Figure 13 Connectivity PLT Application Serial Number
When executing the tests that are configured by default on a DA14531 USB Kit the test is likely to fail on ActiveCurrentMeasurement.

Figure 14 Connectivity PLT Application Fail Active Current Measurement
Note
It’s possible that the test will pass, because the default limit is set quite critical for the DA14531 USB Kit which has slight variation in current consumption due to various process and environmental factors. If the test passes, you can still follow the instructions below to learn how to analyze fails.
To investigate the failure, the DUT log can be opened by clicking on the DUT tile in the Connectivity PLT Application. The DUT log will open in your preferred text editor and will have contents similar to the text below:
|09:04:23.025  |RftuListGet              |Initialized |Pass |
|09:04:23.025  |RftuListGet              |Started     |Pass |
|09:04:23.025  |RftuListGet              |Ended       |Pass |
|09:04:23.025  |RftuBleListValidate      |Initialized |Pass |
|09:04:23.025  |RftuBleListValidate      |Started     |Pass |
|09:04:23.025  |RftuBleListValidate      |Ended       |Pass |
...
To find the failure, the log can be searched for the word “Fail”. The log will show lines similar to the ones below:
...
|09:04:26.165  |ActiveCurrentMeasurement |Started     |Pass |Start operation execution of=[ActiveCurrentMeasurement]. Display name=[Active Current Measurement]
|09:04:26.165  |Ina231CurrentMeasurement |Initialized |Pass |
|09:04:26.166  |Ina231CurrentMeasurement |Started     |Pass |LowerLimit=[0,5]mA. UpperLimit=[5]mA
|09:04:26.168  |Ina231CurrentMeasurement |Ended       |Fail |DUT current=0,439836779320174mA, outside limits
|09:04:26.168  |ActiveCurrentMeasurement |Ended       |Fail |DUT current=0,439836779320174mA, outside limits
...
From these logs, we can determine that the ActiveCurrentMeaseurement test failed because the device used less current than the specified lower limit. So this is expected behaviour and it can be fixed by changing the lower limit of the current measurement to a value below the current consumption of the DA14531 USB Kit.

Figure 15 Connectivity PLT Configuration Application Active Current Measurement Lower Limit
After saving the new configuration, the configuration still has to be updated in the Connectivity PLT Application. This is done using File > Reload Configuration in the top menu of the Connectivity PLT Application.
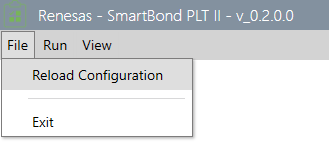
Figure 16 Connectivity PLT Application Reload Configuration
When the test now is restarted using the Start button or the spacebar, the test will pass.

Figure 17 Connectivity PLT Application Pass