4. Importing an SDK6 existing project into e2 studio
Warning
Important Compatibility Notice
When using SDK version 6.0.24.1464, it is mandatory to use the April release of e² studio or higher (e² studio 2025-04 (2025-04. R20250411-0917). Using an older version of e² studio may result in incompatibility issues or unexpected behavior.
First download the Software Development Kit (SDK) from one of these product pages:
Start by opening e2 studio.
Open an existing Workspace to import the project. If the workspace doesn’t exist, creates a new workspace with a new name At the end of e² studio startup, you will see the Workspace Launcher Dialog box as shown in the following figure.
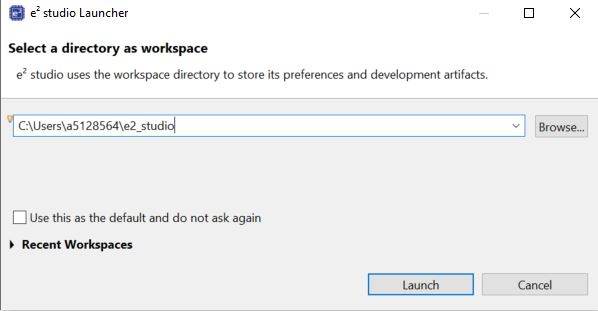
Figure 1 Workspace Launcher dialog
Click Launch.
When the workspace is opened, you may see the Welcome Window. Click on the Hide arrow button to proceed past the Welcome Screen as seen in the following figure.
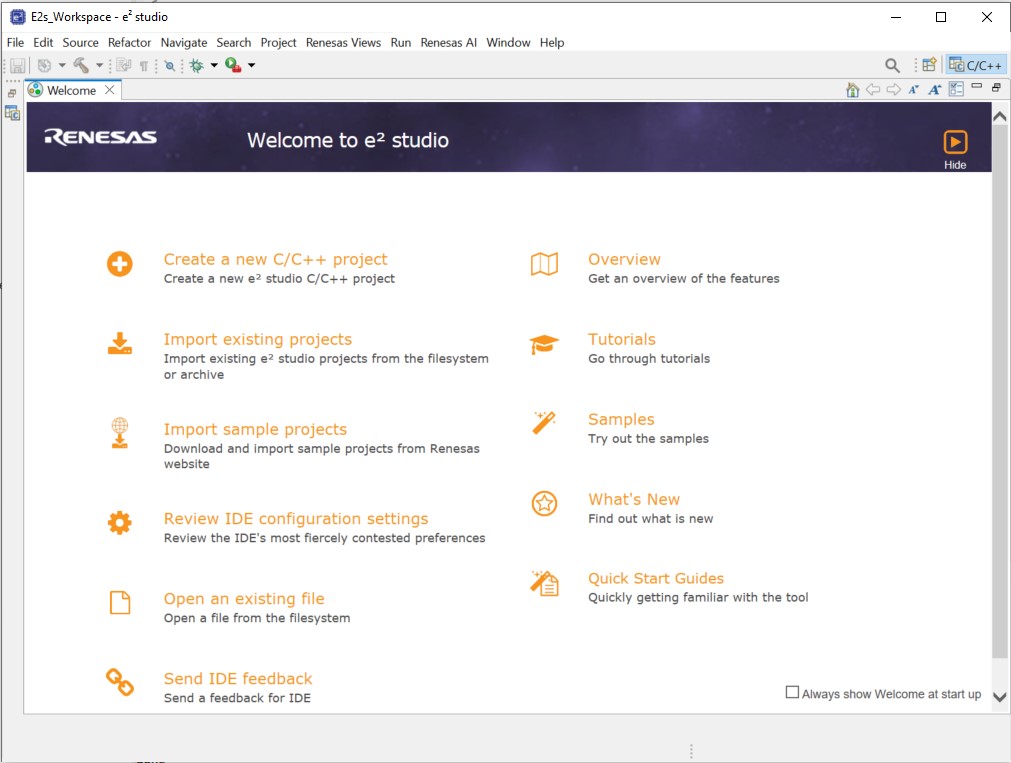
Figure 2 Workbench arrow button
The welcome screen may show inside the new workspace. It can be dismissed by clicking on the Hide button in the top-right corner.
Click Import on the File menu or in the menu bar, as shown in the following figure.

Figure 3 File drop-down menu
In the Import dialog box, as shown in the following figure, choose the General option, then Dialog SDK Project, to import the project into the current workspace.
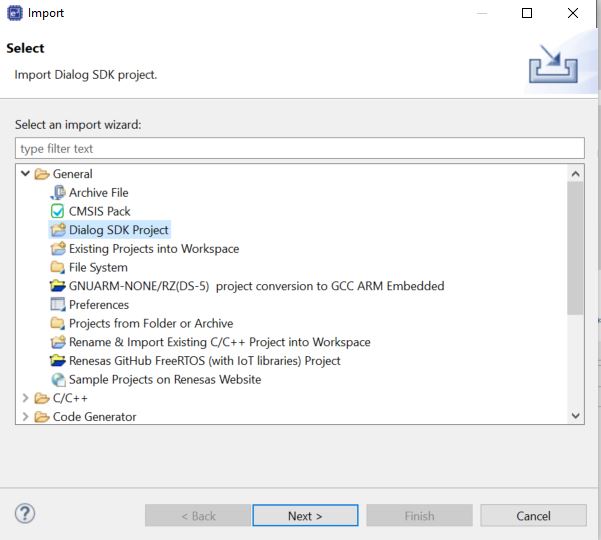
Figure 4 Project Import dialog with “Dialog SDK Project” option selected
Warning
Do not select Existing Project into Workspace when importing an SDK project. Instead, use the Dialog SDK Project import option, as demonstrated in Figure 4. This ensures that the importer properly configures scripts and other necessary settings for debugging, including setting up the Debug Configuration Launcher correctly.
Click Next
To import the project, use either Select archive file or Select root directory. Browse the SDK root which contains the
Configandprojectssubdirectories.
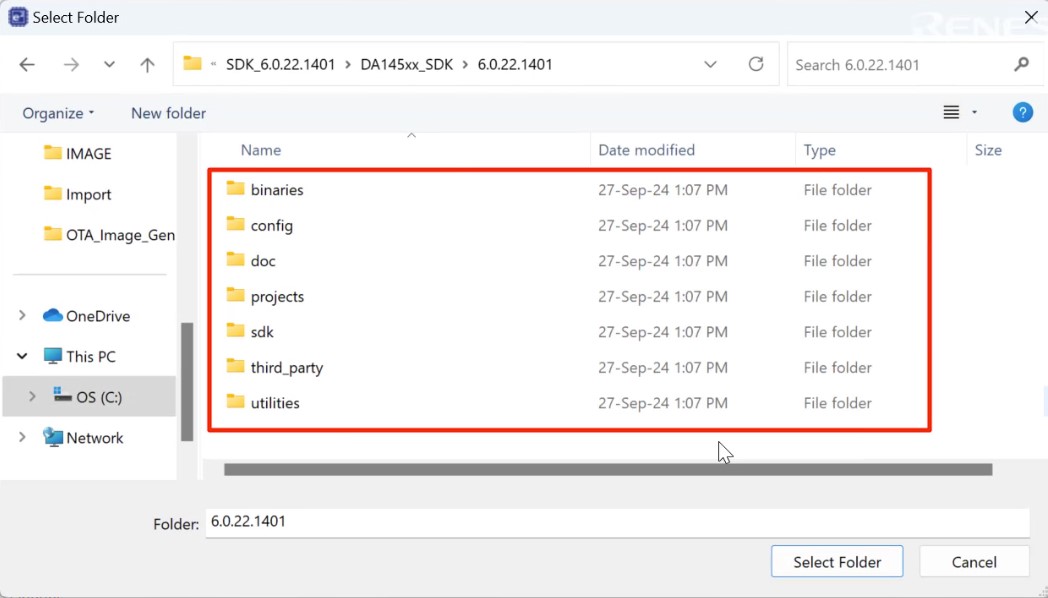
Figure 5 Import Existing Project dialog
Click Select Folder.
A list of examples project will be shown the
Project:pane, selecte2studioprox_reporterproject and click next
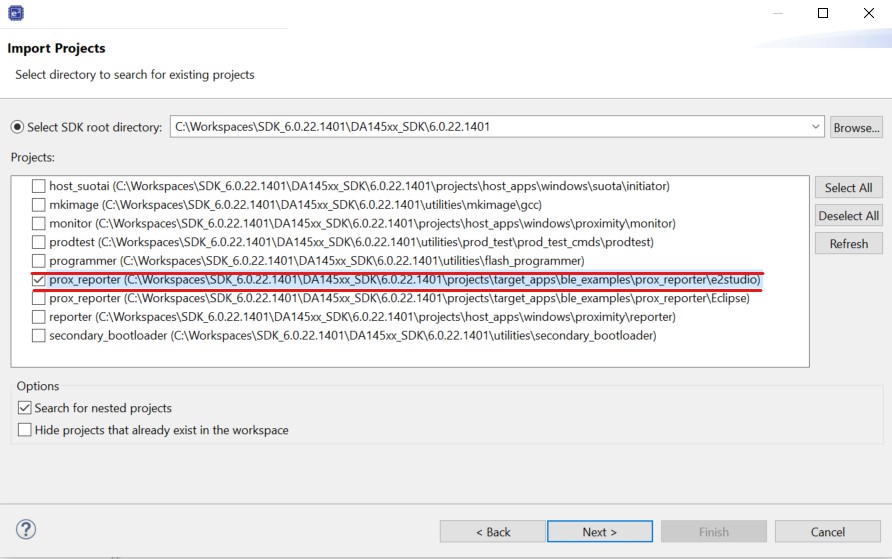
Figure 6 Import Existing Project dialog two
Specify target device and click Finish.
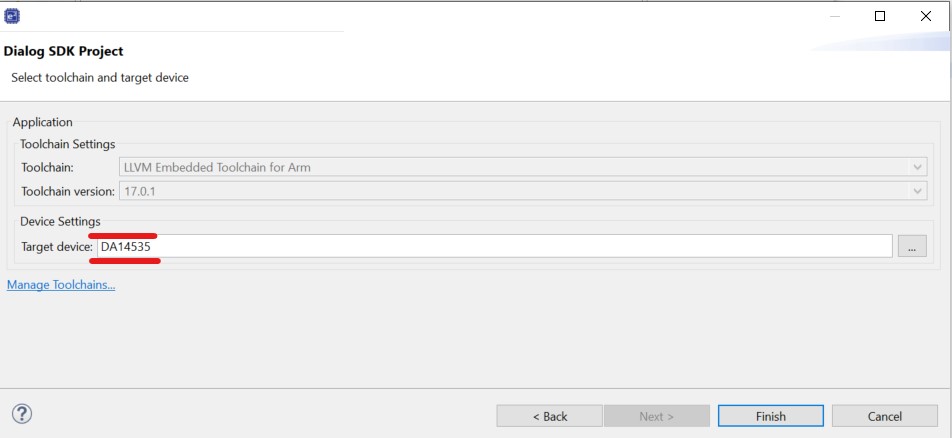
Figure 7 Select DA14535 as Target device
The proximity reporter project
projects/ target_apps/ ble_examples/ prox_reporter/ e2studiois imported now toe2studio
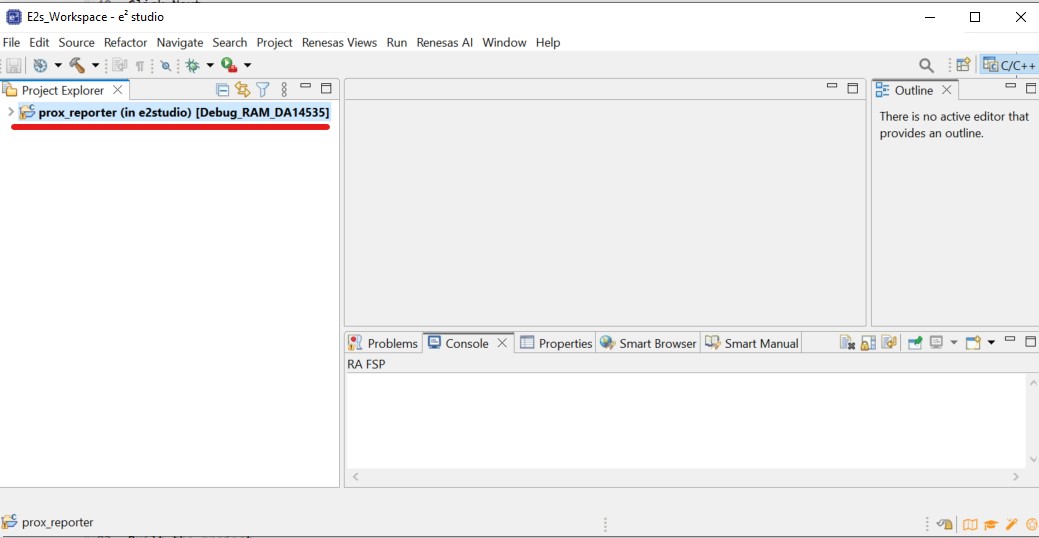
Figure 8 proximity reporter project is imported now to e2studio
Built the project
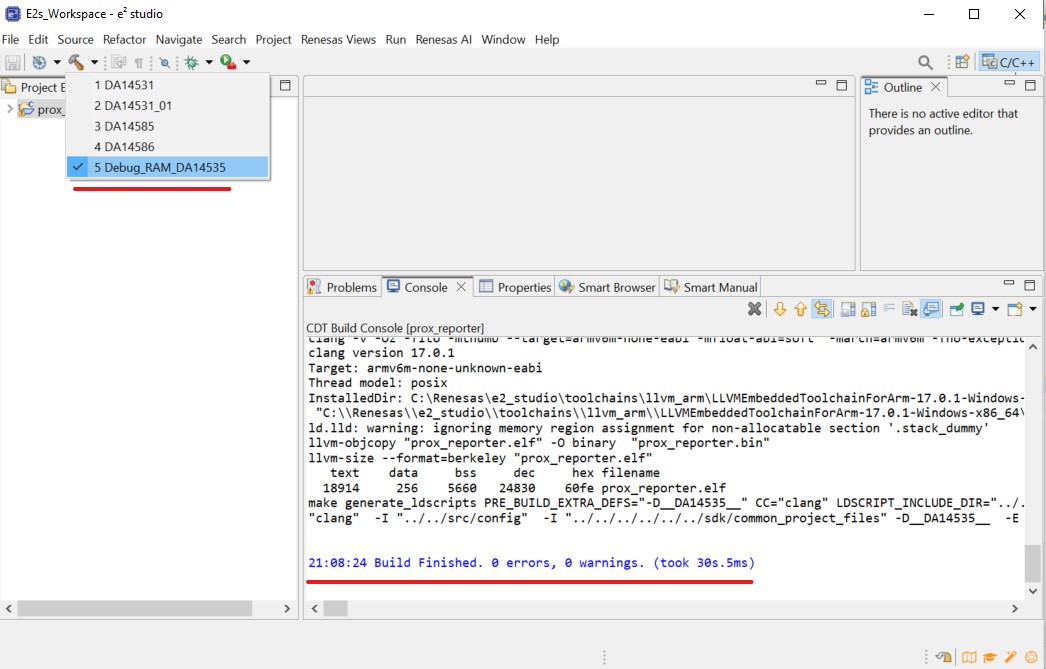
Figure 9 proximity reporter project build
Note
In order to build proximity reporter project for DA14533 target, you select the DA14535 target and then add DA14533 define __DA14533__.
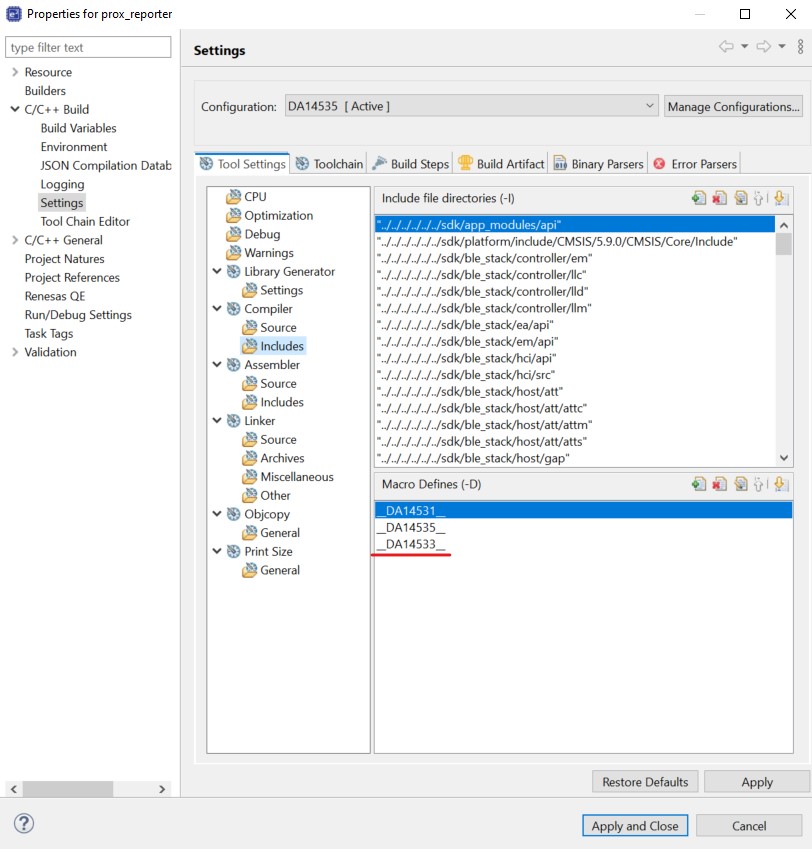
Figure 10 proximity reporter project build for DA14533
Note
You can refer to this video which demonstrates how to import SDK6 project for SmartBond™ device in e² studio.