8. Run the Pre-Loaded Demo
This section describes how to quickly get started with the DA1470x Development Kit Pro and run the pre-loaded demo.
Step 1 : Take the daughterboard (Figure 4) and plug it to the main board through the dedicated connectors (11) (Figure 2) Take care to match the orientation.
Step 2: Take the OLED board and plug it to the mainboard through the dedicated connector (15) (Figure 2) Take care to match the orientation.
Step 3: Connect a USB type A to mini-B USB cable on the micro USB header (USB1) on the Main board to power On. The other side of the USB cable can be connected to a PC/Laptop. Figure 6
Step 4: After the ProDK is powered, and If everything works fine then the OLED display will show the following watch-face: Figure 33.
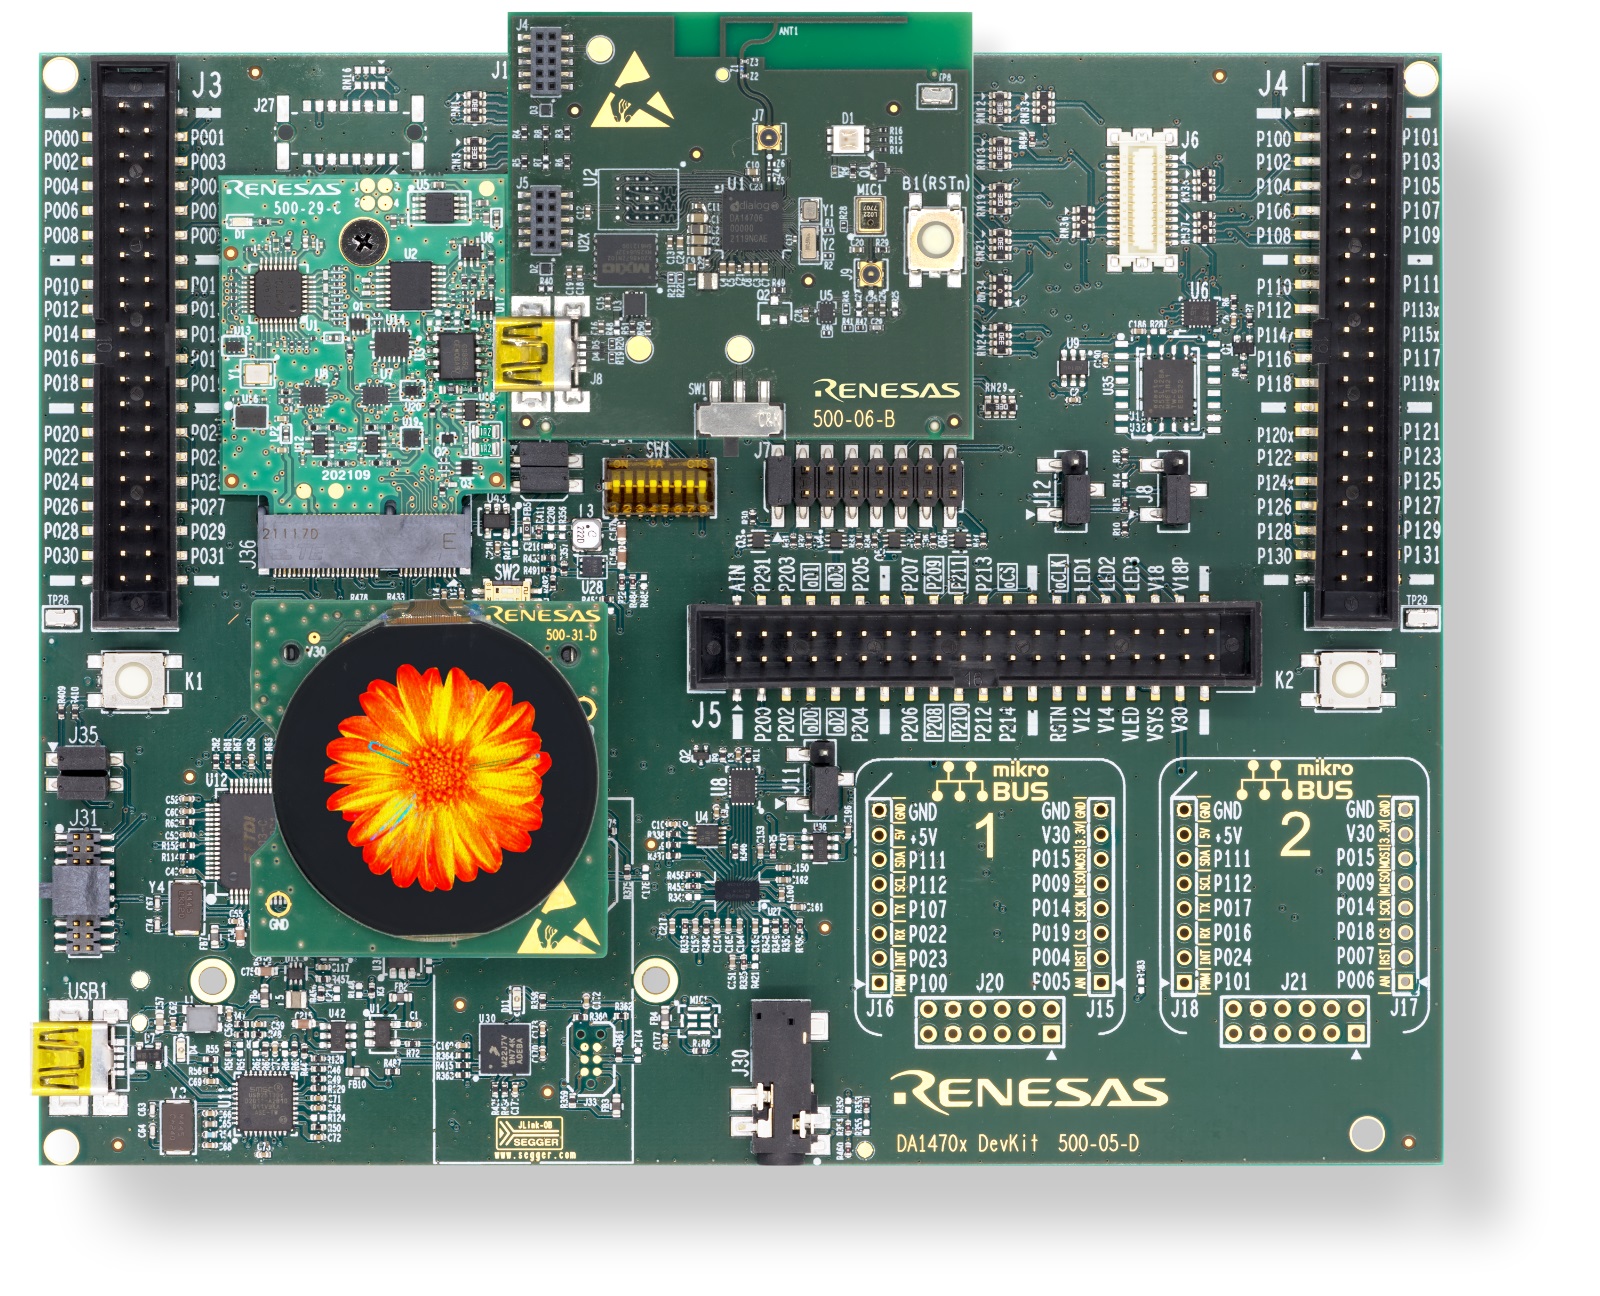
Figure 33 ProDK Development Kit with OLED
Step 5: After the ProDK Development Kit is powered, another USB type A to mini-B USB cable can be connected to the daughter board which exposes itself as a USB Mass Storage Device (i.e. USB stick) with an embedded readme.html file:
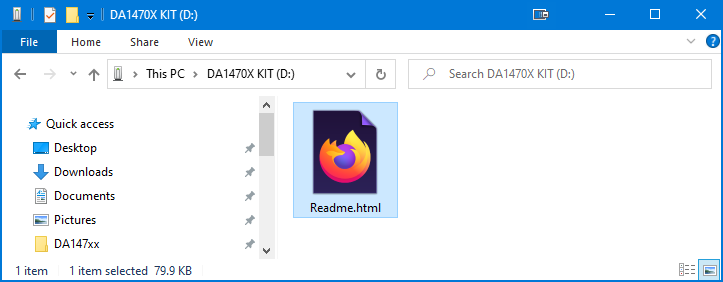
Figure 34 Mass Storage Device directory
You can open the readme.html with any browser. In the readme.html document there are various links to DA1470x documentation.
When the development kit is powered through the USB connection on the daughter board, the kit starts advertising as a BLE Proximity reporter. This can be observed with the Renesas Gatt Browser:

Figure 35 Renesas Smartbond BLE Browser
Note
In this example, we used the Android SmartBond application but you can also use another BLE application like LightBlue or similar.
In the Renesas Smartbond browser the (immediate)alert level can be set to different levels (0x0 = no-alert, 0x1 = medium alert or 0x2 = high alert).
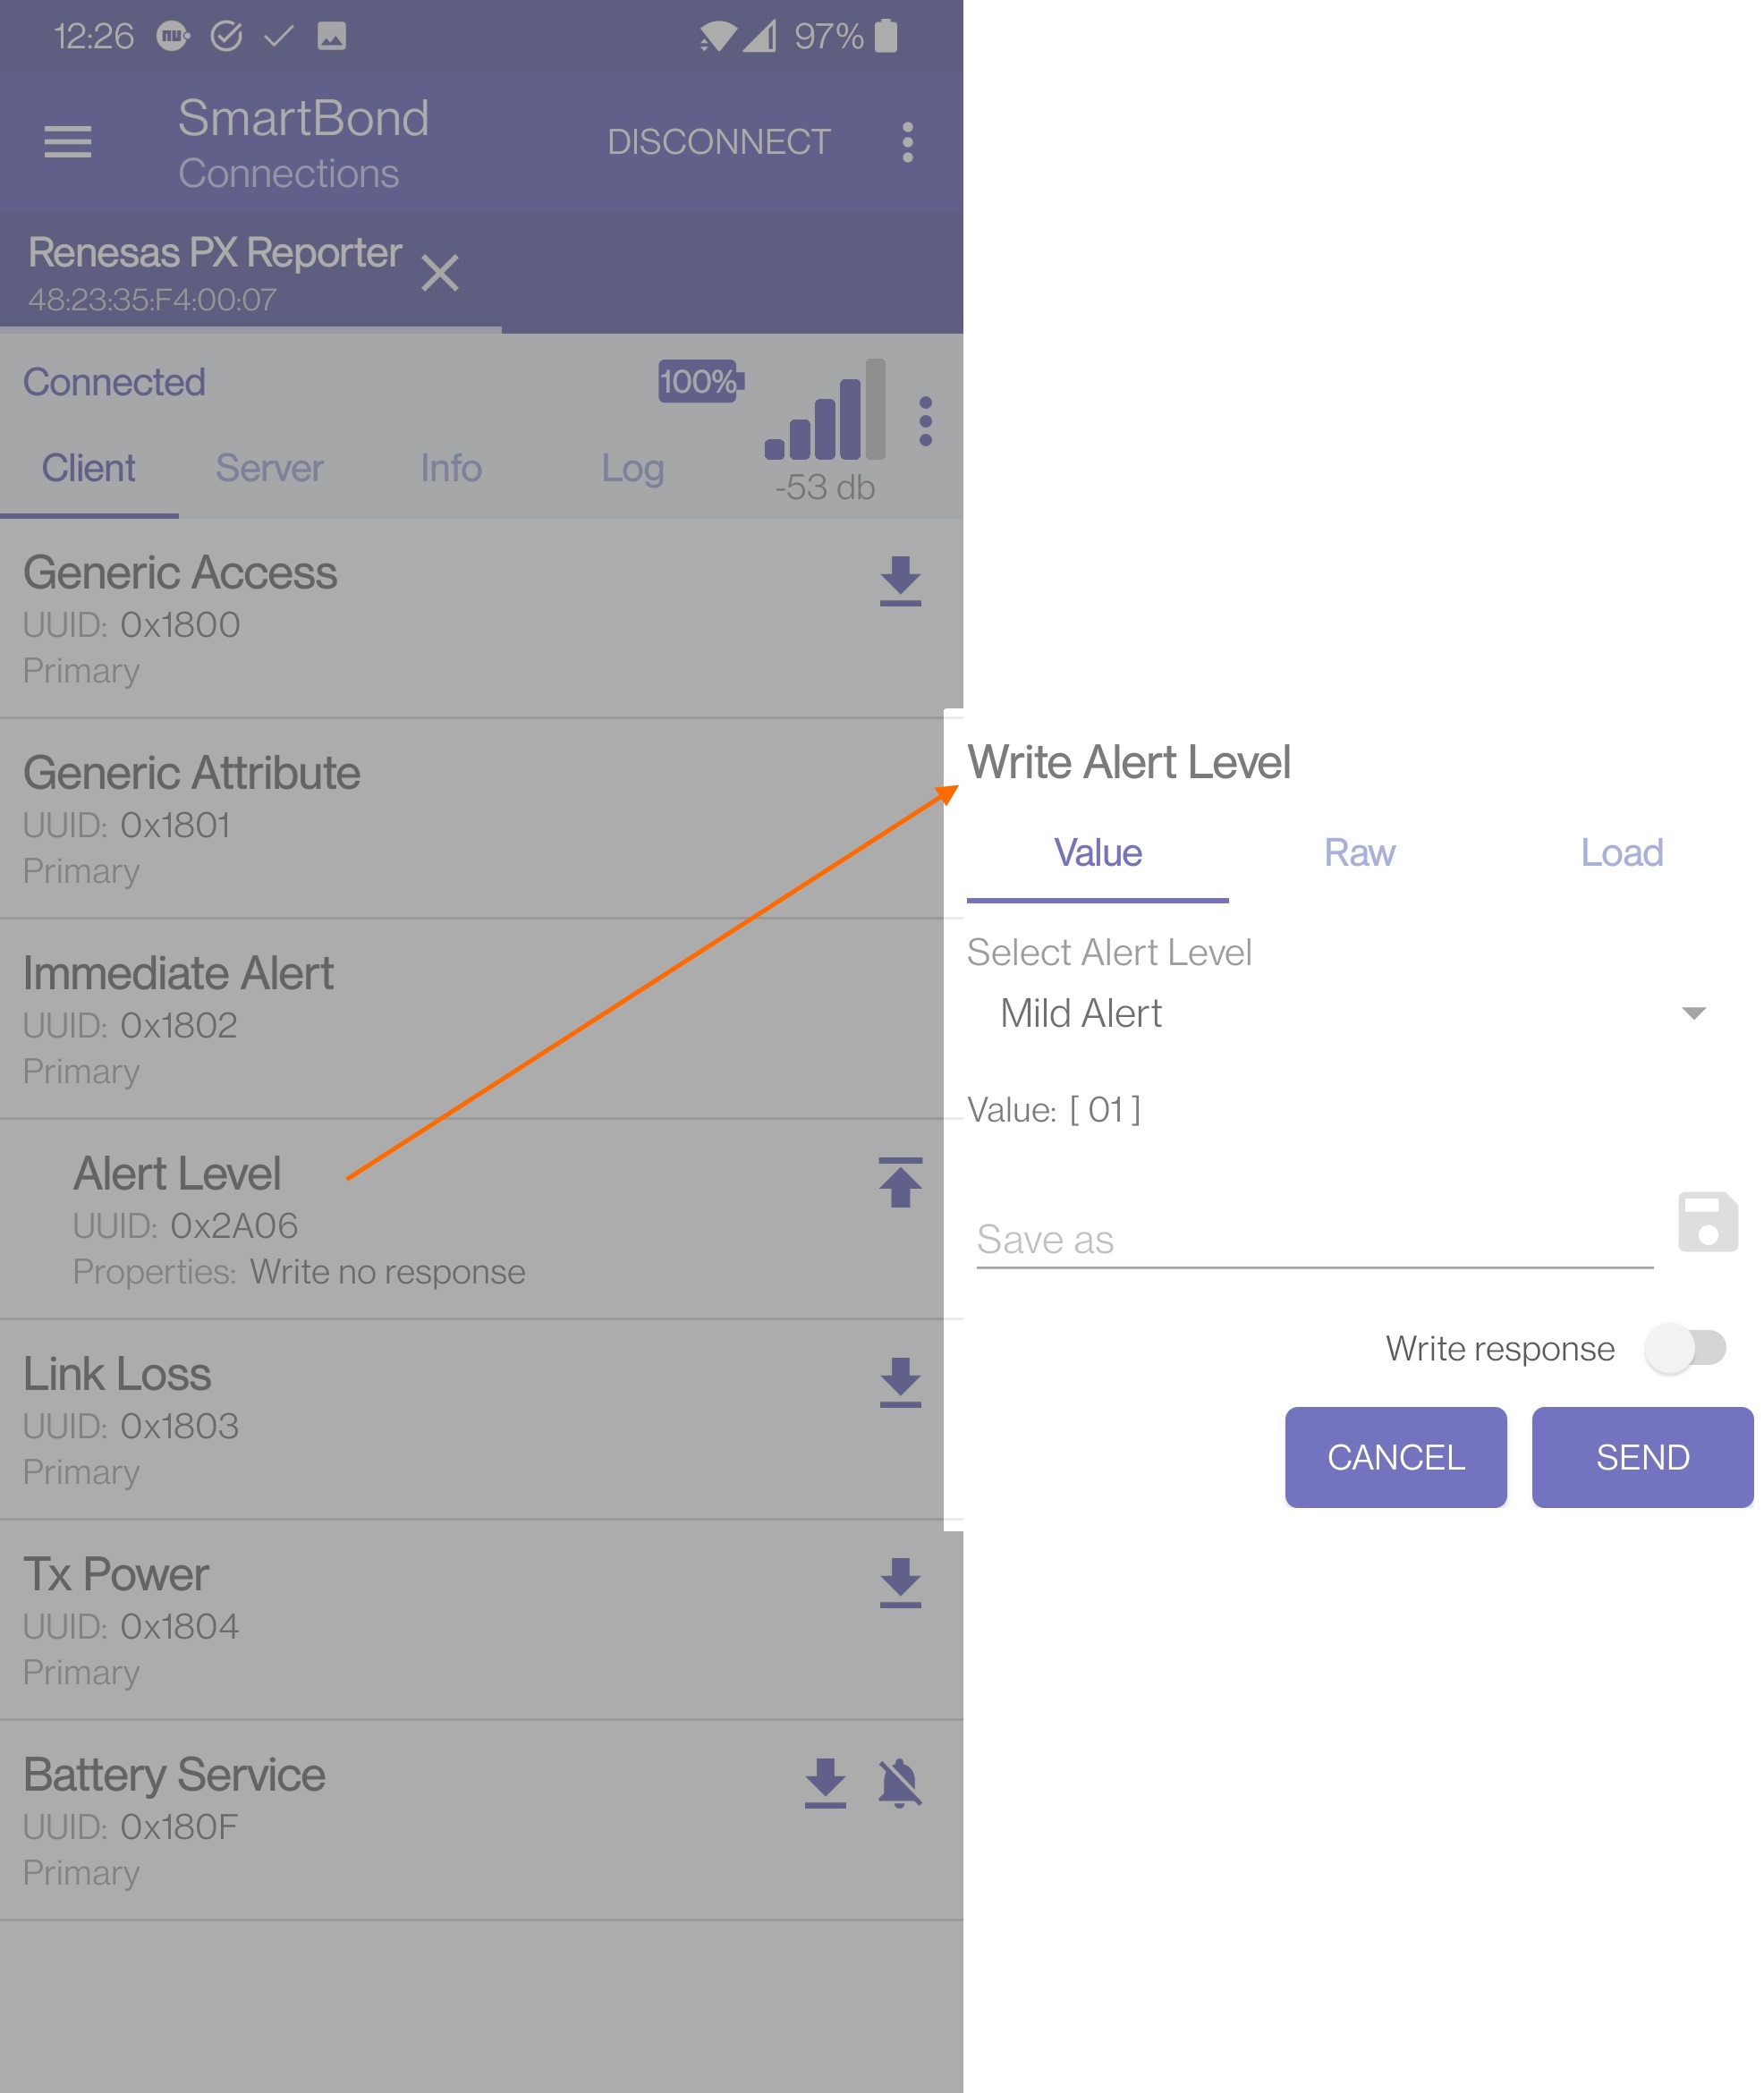
Figure 36 Set immediate Alert Level
Set the alert level to medium:

Figure 37 Set Medium Alert Level