7. Software Installation
This section describes the installation procedure for the drivers, the configuration of the serial port, and all necessary steps to verify the connection with the PC. It also provides solutions to problems that may occur.
7.1. Connecting the DA14695MOD ProDK to the host PC
Before connecting the DA14695 mother board to the host PC, make sure that the motherboard and the desired DA14695MOD are properly connected.
The DA14695 mother board associated to the DA14695MOD is connected to the host PC over the connector marked as USB1, as shown in Figure 5 using a standard mini-USB
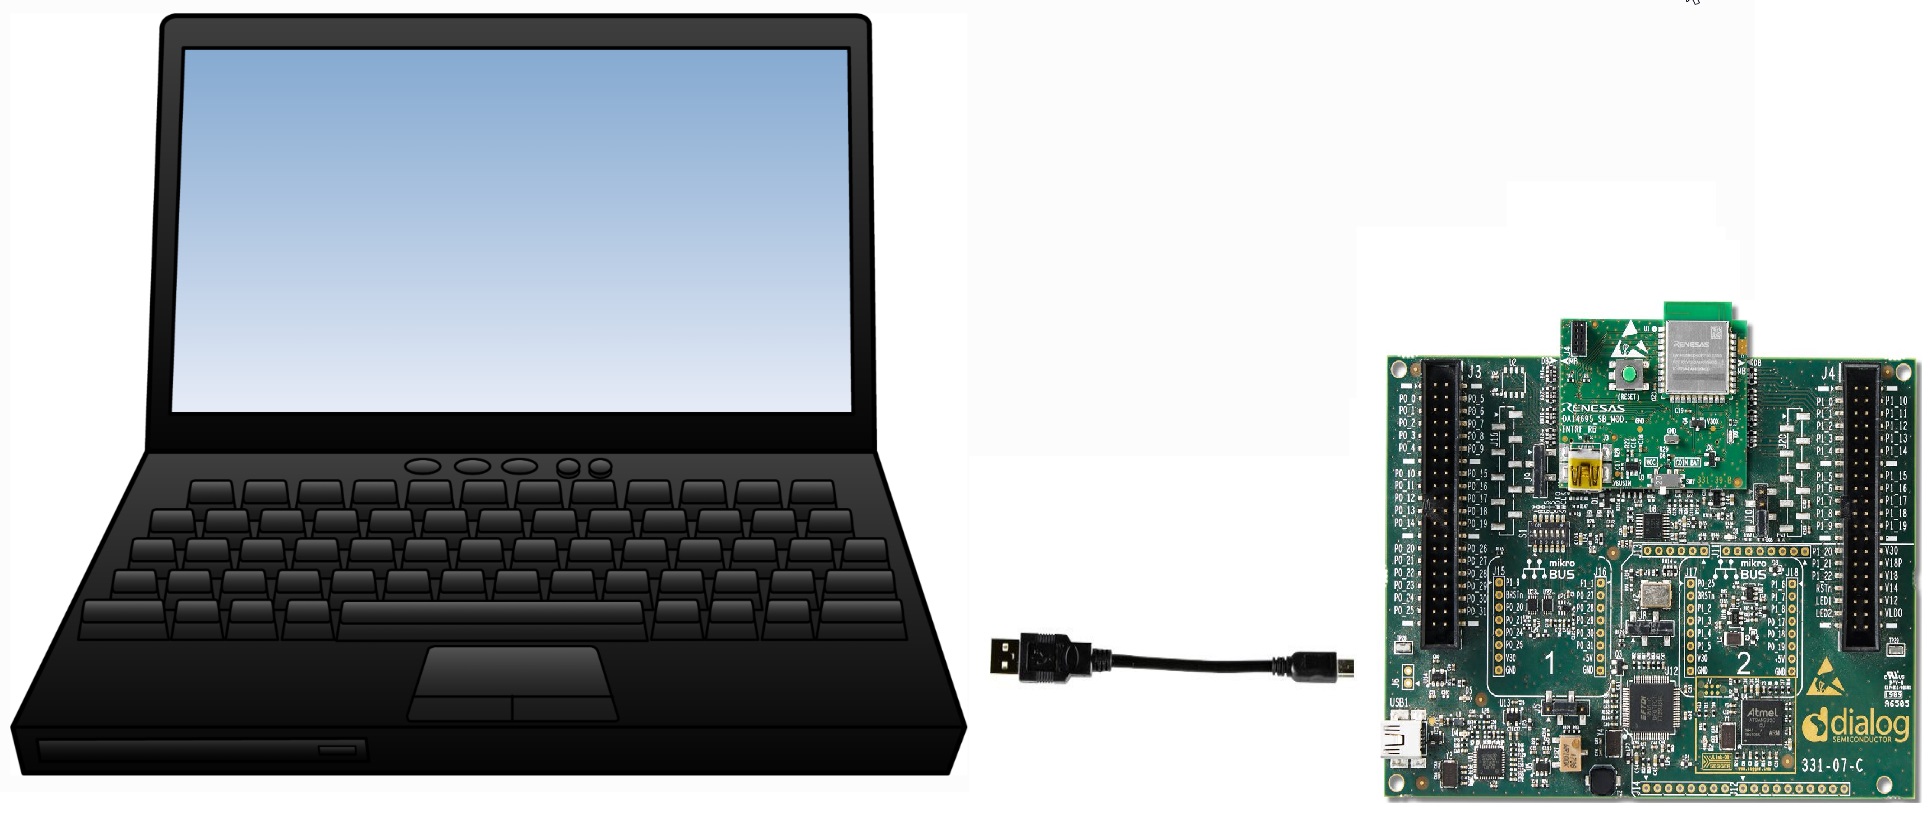
Figure 5 DA14695MOD daughter board connection
7.2. Setting up your terminal
When the DA14695MOD is connected the host PC, you need to setup your terminal software. On first connection to a host PC running Microsoft Windows, the system will detect several devices and will automatically install all necessary drivers. If the system is configured to use Microsoft Windows Update, this may take some time to complete.
There are two virtual COM ports created by the Windows driver. The first COM port (lower number, COM52 in this example) provides a UART interface (Used for printing) between the PC and the DA14695 device.
Note
If your PC has a serial port on it, then that’s the COM1 you’re seeing (When opening Windows device manager). Hence you can’t make a communication between the ProDev Kit board and the Windows on that port. But you can do it only by using the other lowest COM port, COM52 in this case.
The COM port numbers can be found in the Windows Device Manager (Control Panel > Device Manager > Ports (COM & LPT)) as shown in Figure 6.
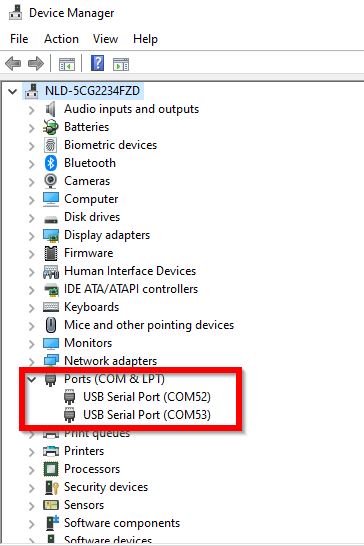
Figure 6 Device Manager Ports
To establish a communication with the DA14695MOD over UART, the following steps should be executed:
If you are using the DA14695MOD daughterboard, you can connect it to the DA14695 motherboard then to the PC via USB cable.
Use the Windows Device Manager to verify that the host discovered two serial ports – the first of which is connected to UART, see Figure 6.
Open Tera Term from the Windows (or any other serial console application) Start menu as shown in Figure 7.
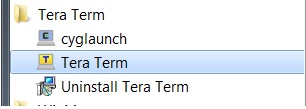
Figure 7 Start Tera Term
In the Tera Term: New connection dialog, select Serial, then select the COM Port to use, and click OK.
Select Setup > Serial Port and configure your UART port using the parameters shown in Table 1 (you need to be an administrator on your local machine), see Figure 8.
Settings |
Values |
|---|---|
Baud rate |
1000000 |
Data bits |
8 |
Parity |
None |
Stop bits |
1 |
Flow Control |
RTS/CTS |
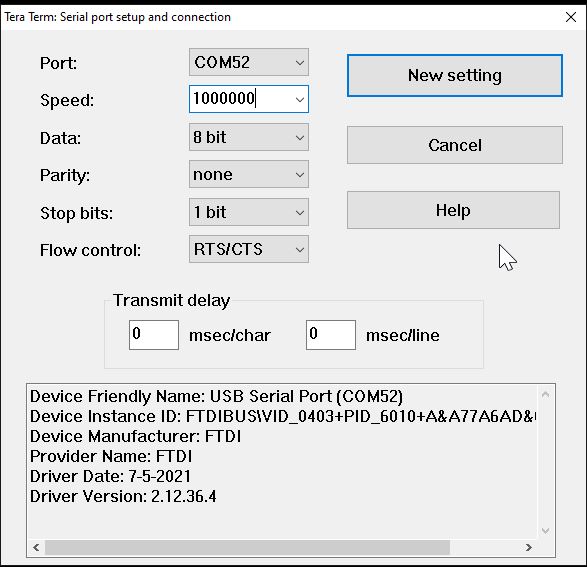
Figure 8 Setting Up the Port and Testing connectivity via Tera Term
7.3. Troubleshooting
If there are any connection problems to PC some possible solutions might be:
Make sure that your FTDI drivers are up to date. Drivers are available from the FTDI website.
Check for possible cabling issues by using a different USB cable.
Connect the two elements using a different USB port on the host PC.
Note
If none of these actions resolve the issue, please ask your question in the Renesas engineering community.